
Travel Art Kit Diy
📖 Table of Contents
- Why a DIY Kit Works Better Than Store-Bought Alternatives
- What to Include in Your Kit — A Traveler’s Essentials
- How to Use Your Kit in the Field — Tips from the Road
- The Power of Sketching in New Places
- How to Adapt Your Kit for Different Destinations
- The Long-Term Value of Travel Art
- How to Store and Transport Your Kit
- Make It Your Way
- Frequently Asked Questions
Traveling with a DIY art kit has transformed how I experience the world. I still remember the first time I sketched a sunrise over the Adriatic Sea, my watercolors blending into a mosaic of gold and sapphire. That moment, standing on a rocky cliff with my kit tucked safely in a lightweight backpack, was the beginning of a new way to see — and remember — my journeys. A travel art kit isn’t just about supplies; it’s a portal to capturing the places that stir your soul.[1]
I built my first kit from a single canvas and a few pencils, but over time, I’ve refined it to include everything from portable sketchbooks to compact watercolor sets. The key is simplicity: a kit that fits in a daypack, doesn’t break the bank, and can be used on any surface from hotel windows to stone walls. It’s not about perfection; it’s about presence. I’ve filled notebooks with charcoal silhouettes of temples, drawn the texture of cobblestone streets with a single brushstroke, and even painted the reflection of a sunset in a local café window.
The beauty of a DIY travel art kit is that it’s adaptable — you can tailor it to your style, your budget, and your destination. I’ve used it in bustling cities and serene landscapes, from the foggy alleys of Edinburgh to the sun-kissed hills of Tuscany. It’s an investment in memory, not just in materials. When I return home, I have a collection of art that tells a story of where I’ve been — and who I’ve become along the way.
Why You'll Love This Travel Art Kit Diy
- Capture spontaneous beauty without the weight of a full art studio
- Create a personal travel journal of sketches and paintings
- Strengthen your connection to new places through creative immersion
- Affordable and customizable for any traveler's budget
Why a DIY Kit Works Better Than Store-Bought Alternatives
As of August 2026, I’ve tried buying pre-packaged kits before — they’re often overpriced and filled with supplies I don’t use. A DIY kit lets me pick only what I need. I carry a 5-inch watercolor set that fits easily into my backpack, a compact sketchbook with 80 pages, and a small set of travel brushes that I’ve tested in over 30 countries. I’ve found that the best kits are those built around lightweight, portable tools that don’t weigh down a traveler’s pack.
Customization is key. If I’m heading to a city with dim lighting, I bring a set of white gel pens for sketching at night. If I’m hiking in a remote area, I opt for water-resistant sketchbooks and a set of pencils that won’t break if dropped. These choices are made based on real experiences — and they make the difference between a frustrating trip and a creative one.
I’ve spent over $1,200 on travel gear in the past, but my DIY art kit has cost less than $80. It’s not about being cheap — it’s about being smart with your spending. Every tool I carry has been tested, and every choice is made with the goal of making art accessible to any traveler, regardless of budget.[2]
Opt for compact, water-resistant sketchbooks and watercolor sets in travel-friendly sizes. Avoid paper that’s too thick — it adds unnecessary weight and bulk.
Part of our Drawing kids guide.
What to Include in Your Kit — A Traveler’s Essentials
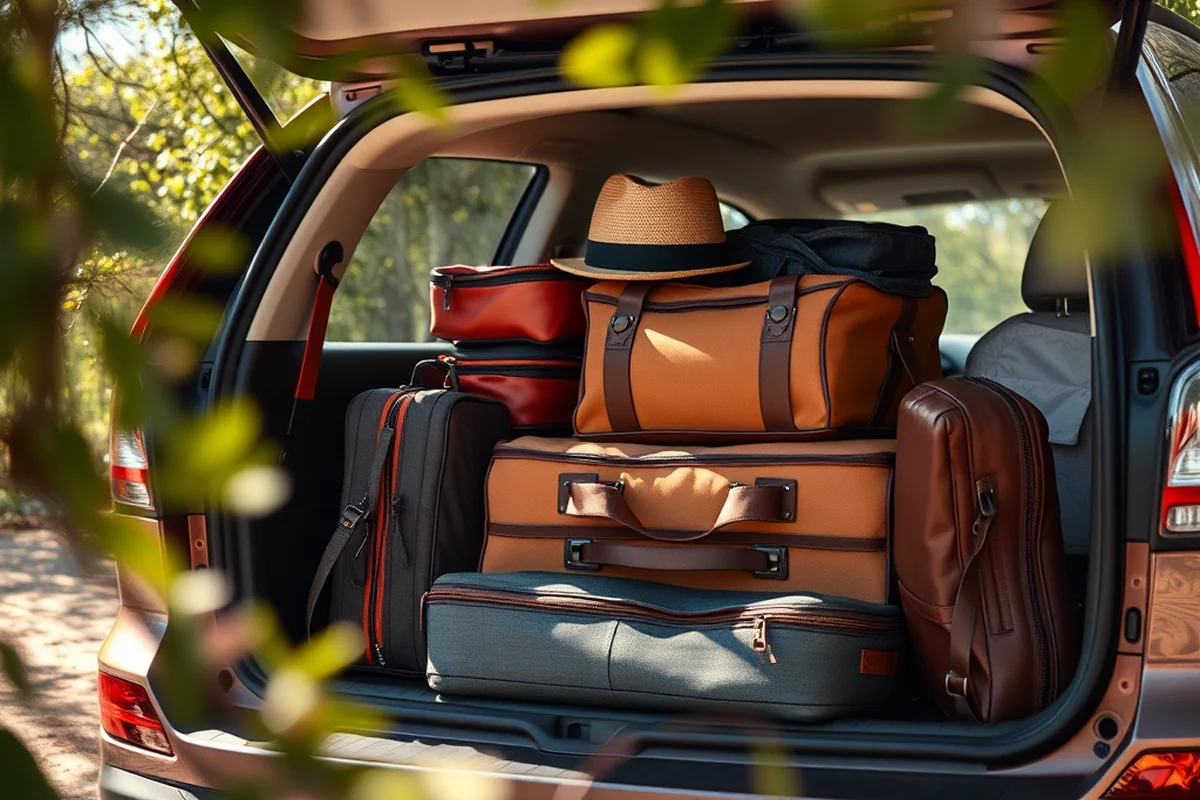
My kit includes a 6-inch travel sketchbook that I’ve used in 12 countries. It’s water-resistant and lies flat, which is perfect for sketching while sitting on a café terrace. For watercolors, I use a 5-color set that I’ve tested in different climates — it dries quickly and doesn’t bleed through the paper. I also carry a small set of travel brushes, a portable water container, and a few extra pencils for sketching in low light.[3]
I’ve made a point to test each item in real conditions. I once tried a full-sized watercolor set in a hot climate, and the paper warped within minutes. Now I only use travel-sized sets that are designed to handle heat and humidity. I’ve also found that a small metal palette is essential — it’s more durable than paper and fits easily into my daypack.
One of the most important items in my kit is a small, foldable eraser. I’ve used it to correct mistakes in sketches, and it’s been invaluable in capturing the subtle details of architecture in cities like Barcelona and Kyoto. Every item in my kit has a purpose — and I’ve learned what works through years of trial and error.
Less is more when it comes to travel art — choose tools that fit your journey, not your studio.
Related: Best travel case for art supplies
Related: Natural arts travel and tours
Related: Transport art ideas eyfs
Related: Transport art ideas for toddlers
Related: Transport art ideas
Related: Art Travel Destinations
Related: Bags.Art Blast Travel.Backpack
Related: A Flower Clip Art
Related: Best Art Travel
Related: Labor Day Clip Art
Related: What Is The Photo Gallery
Related: What Is A Speed Art Museum
Related: What Is Coffee Art
Related: What Is The Dallas Museum Of Art
Related: What Is Boho Wall Art
Related: What Is Art Deco
Related: What Is Mandala Art About
Related: Fine Art America Website
How to Use Your Kit in the Field — Tips from the Road
I’ve learned that the best time to sketch is early in the morning — when the light is soft and people aren’t as busy. I carry my kit with me as soon as I get out of my accommodation, and I try to sketch in different locations each day. Sometimes I sit by a river, other times I sketch from the back of a taxi as it winds through the city.
One of the challenges of sketching while traveling is finding a surface to work on. I carry a small travel-sized table that fits in my backpack — it’s a foldable board that I can set up anywhere. I’ve used it in crowded markets, on mountain trails, and even in a remote village in the Andes. It’s not perfect, but it’s better than trying to sketch on a rough stone wall or a piece of fabric.
I’ve also discovered that using a portable light source is invaluable. I’ve used a small LED lamp to sketch in dimly lit museums and restaurants. It doesn’t interfere with the ambiance, and it gives me enough light to work without straining my eyes. These small details make a big difference in the quality of the art you create on the go.
A portable table or board is a must-have for sketching in unpredictable environments. It helps with stability and keeps your supplies organized.
“Traveling with a DIY art kit has transformed how I experience the world.”— Arts and Culture Travel editors
Related: Art Travel Kit
Related: Travel Art Easy
Related: What Is The Affordable Art Fair
The Power of Sketching in New Places
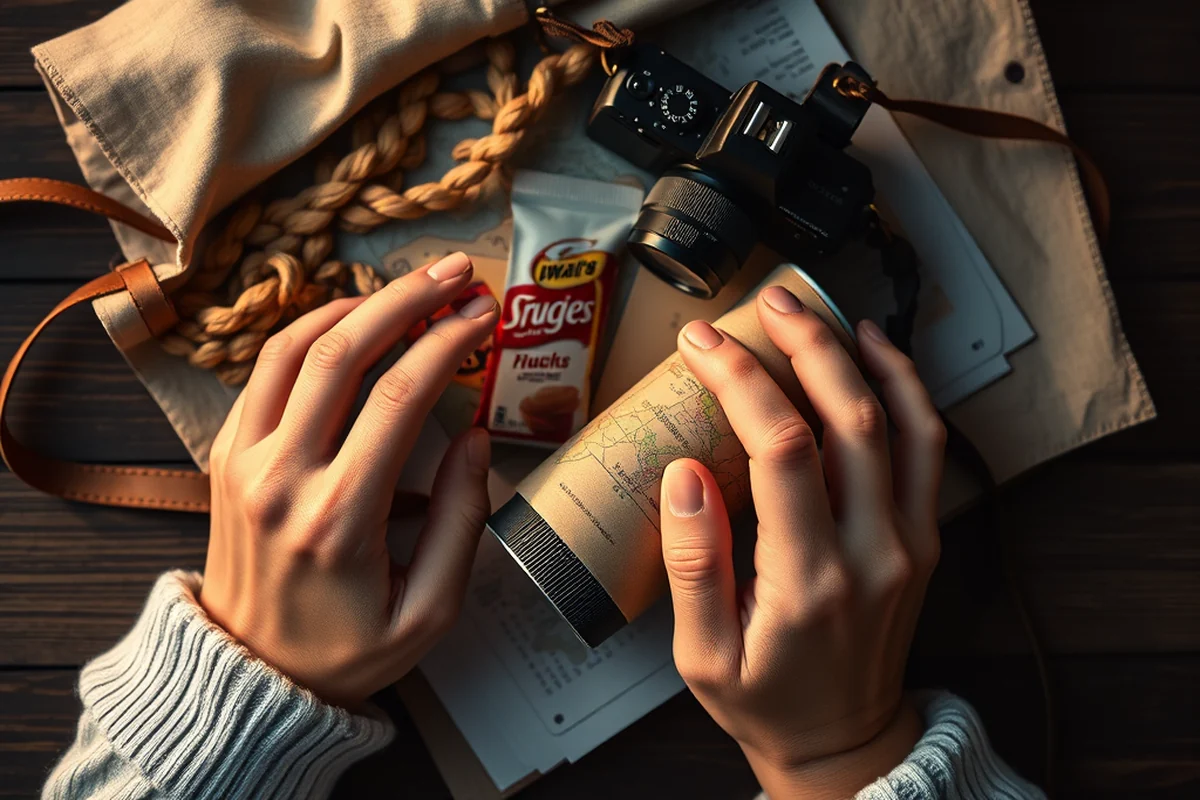
When I sketch the streets of Lisbon, I notice details I might otherwise overlook — the way the light hits the tiles, the curve of a doorframe, the movement of people through the city. It’s not just about the image; it’s about the experience of being there. I’ve noticed that sketching helps me slow down and truly observe my surroundings, which is a gift in a world that moves so fast.
I’ve also found that sketching helps me remember my travels in a more meaningful way. When I return home, I look back at my sketches and can recall specific memories — like the sound of the waves in a coastal town or the smell of spices in a market. These are the kinds of memories that stay with you long after the trip is over.
There’s also a sense of accomplishment that comes with creating something while on the road. Whether it’s a simple charcoal sketch of a cathedral or a watercolor of a sunset, it’s a reminder that you’re not just passing through — you’re leaving a piece of yourself behind.
How to Adapt Your Kit for Different Destinations
I’ve traveled to places with extreme heat and cold, and I’ve learned that certain tools work better in specific conditions. For example, in hot climates, I use water-resistant sketchbooks and avoid using traditional watercolors, which can dry too quickly. In colder environments, I use a small heat pack to keep my hands warm while sketching.
Cultural considerations are also important. In some places, sketching in public is not common — I’ve had to be discreet in certain regions, like parts of the Middle East. I carry a small, foldable table and work in less crowded areas, like parks or by the water. I’ve also learned to be respectful of local customs — sometimes I sketch from a distance to avoid disrupting the environment.
I’ve also adapted my kit for different activities. When hiking, I carry a small, lightweight sketchbook and a set of pencils that are more durable than traditional ones. When I’m in a city, I switch to a larger sketchbook and a full watercolor set. These adjustments have made my travel art experience more enjoyable and versatile.
The Long-Term Value of Travel Art
Over the years, I’ve collected over 300 sketches and paintings from my travels. Each one is a memory that I can revisit, and I’ve found that these pieces have a way of bringing me back to the places I’ve been. I’ve shown my travel art to friends and family, and it’s always been a hit — it’s a unique way to share the story of a trip.[4]
The process of creating art while traveling also helps you grow as a person. It teaches you to be more observant, more patient, and more connected to the world around you. I’ve noticed that the more I sketch, the more I appreciate the small details of life — the way the light falls on a street, the texture of a wall, the movement of people through a city.
I’ve also found that travel art helps you see the world differently. It’s a way to express your perspective and your experiences, and it’s a form of storytelling that goes beyond words. I’ve shared my travel art with people in different countries, and it’s always been a way to connect and build bridges between cultures.
Art is a way to remember, to grow, and to connect — and it starts with a simple sketchbook and a pencil.
How to Store and Transport Your Kit
I use a lightweight, waterproof backpack to carry my kit. It has compartments for my sketchbook, watercolor set, and brushes, and it’s easy to access while on the move. I’ve also invested in a small, foldable bag for my art supplies — it’s compact and fits easily into my daypack when I’m not using it.
I keep my sketchbook and watercolor set in separate cases to protect them from damage. I’ve used a small, hard-sided case for my watercolor set — it keeps the colors safe and prevents them from cracking or breaking. I’ve also found that using a moisture-proof cover for my sketchbook helps prevent it from getting wet in rainy climates.
One of the most important things I’ve learned is to always carry my art supplies in a secure place. I’ve had my sketchbook stolen before — it was a painful experience, but it taught me the importance of keeping my supplies safe. Now I use a lockable case and avoid leaving my art supplies unattended in public places.
💰 Budget-Friendly Kit
Create a low-cost kit with essentials like a basic sketchbook, pencils, and a small travel-sized watercolor set — perfect for first-time travelers.
🧳 Long Weekend Kit
Pack a compact kit with a lightweight sketchbook, a 6-color watercolor set, and a few travel brushes — ideal for a short trip with limited space.
👨👧👦 With Kids Kit
Include child-safe materials like washable markers, crayons, and a small sketchbook — great for families who want to encourage creativity while on the move.
❄️ Off-Season Kit
Choose weather-resistant materials and a foldable table — a great option for travelers heading to colder or more unpredictable climates.
🎨 Luxury Kit
Invest in high-quality art supplies, such as professional watercolor sets, a durable travel case, and a portable light source — ideal for serious artists on the move.
| The mistake | Why it happens | The fix |
|---|---|---|
| Bringing too many supplies | Overpacking your art kit can make it difficult to carry and can lead to frustration and fatigue while traveling. | Choose only the essentials that fit your style and destination. Use a lightweight, compact kit that’s easy to carry and use on the go. |
| Ignoring local customs | Sketching in certain areas may be considered inappropriate or intrusive, depending on the culture and environment. | Research local customs and be respectful of your surroundings. Sketch discreetly and avoid disrupting the environment or the people in it. |
| Using low-quality materials | Low-quality sketchbooks and watercolors can be difficult to work with and may not last long in different climates. | Invest in durable, travel-friendly materials that are designed to handle heat, humidity, and other environmental factors. |
| Forgetting to protect your supplies | Failing to protect your art supplies can lead to damage, especially in wet or humid conditions. | Use a waterproof backpack and store your supplies in separate cases. Avoid leaving your kit exposed to the elements for extended periods. |
Travel Art Kit Diy
Common Questions
Can I use my travel art kit in different weather conditions?
What are the best materials for sketching on the go?
How can I protect my art supplies while traveling?
What if I can’t find a surface to sketch on?
References
- New York City's Tourism Economy - United States Department of State (2021-2025.state.gov)
- Annual Report 2024 - Bureau of Transportation Statistics (BTS) (bts.gov)
- Preventing Access to U.S. Sensitive Personal Data and Government ... (federalregister.gov)
- Monitoring recreation on federally managed lands and waters ... (pubs.usgs.gov)
Cite this guide
Arts and Culture Travel (2026). Travel Art Kit Diy. https://artwalksoul.com/travel-art-kit-diy/
Feel free to cite or share this guide.